Picture this: It’s 10 a.m., you’re in back-to-back meetings, and your body is sending unmistakable signals that it’s time to pump. You excuse yourself, haul a bulky pump bag to a private room, fumble with tubes and bottles, and return to your desk 30 minutes later feeling flustered and behind schedule. For millions of working mothers, this exhausting routine plays out daily, making breastfeeding feel less like a nurturing choice and more like a logistical battle.
Traditional breast pumps, while effective, were never designed with the modern working mother in mind. They tether you to an outlet, demand your full attention, and make discretion nearly impossible. The clicking and whirring might as well announce your absence to the entire office.
Wearable breast pumps have fundamentally changed this experience. These compact, in-bra devices allow you to pump silently and discreetly while answering emails, attending meetings, or running errands — no cords, no bottles dangling from your chest, no disappearing acts required.
This guide walks you through everything you need to know about using a wearable breast pump effectively: from setup and daily use to maximizing output and keeping your device in top condition. Whether you’re a first-time pumper or switching from a traditional model, you’ll find practical, straightforward advice to make your breastfeeding journey smoother and far more manageable.
Understanding Wearable Breast Pumps: A Game-Changer for Modern Moms
What Exactly is a Wearable Breast Pump?
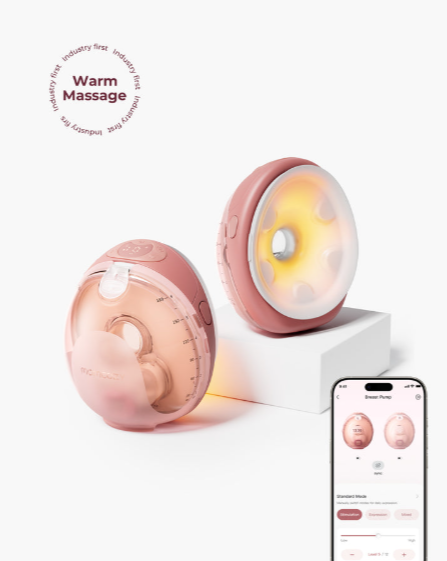
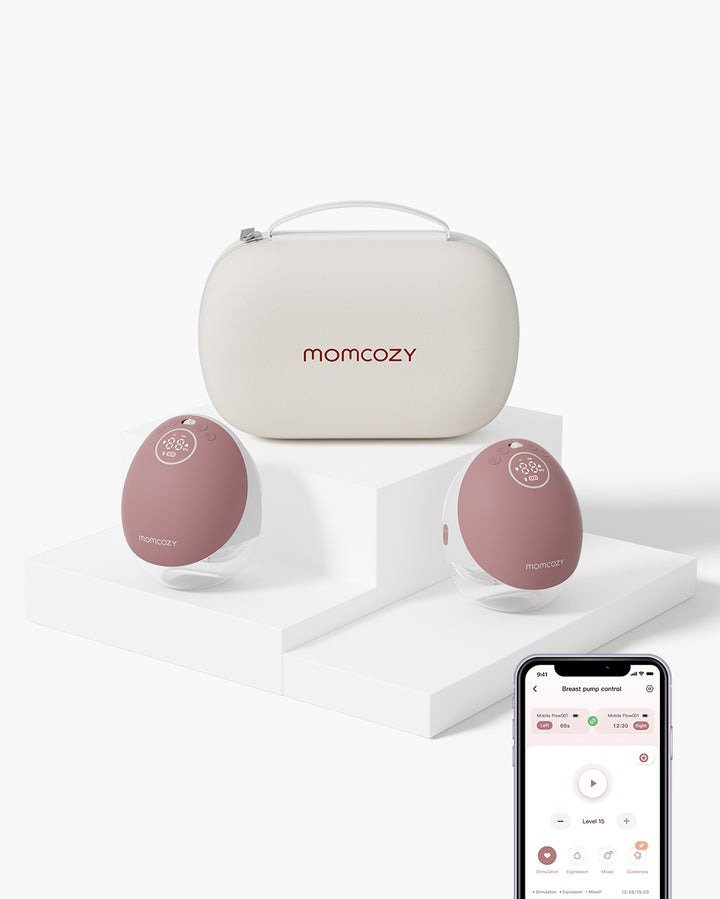
A wearable breast pump is a compact, self-contained pumping device designed to fit directly inside your bra, sitting flush against your breast without any external tubing, dangling bottles, or power cords. Unlike traditional pumps that require you to sit stationary next to a machine, wearable models house every component — motor, collection cup, and rechargeable battery — within a single curved unit roughly the size of a rounded orange. Most models consist of a few key parts: a silicone flange that creates a seal against your breast tissue, a collection container that catches expressed milk, a small but powerful motor, and a rechargeable battery that typically lasts through multiple sessions. The device sits entirely within your bra, held in place by the fabric itself, and operates through a companion app or onboard buttons that let you adjust suction strength and mode. Brands like Momcozy have been instrumental in popularizing this format, helping shift the category from novelty to everyday necessity for working mothers.
Why Wearable Pumps Address Working Mothers’ Needs
The practical advantages over traditional pumps are significant. Where a standard electric pump locks you to a chair for 20 to 30 minutes, a wearable pump lets you keep moving. You can answer emails, join a video call, prepare lunch, or walk between meetings — all while actively pumping. The noise level is another critical difference. Traditional pumps produce a rhythmic, audible clicking that travels through walls and signals your activity to anyone nearby. Wearable pumps operate at a whisper, making discretion genuinely achievable in shared workspaces. For working mothers specifically, this combination of multitasking capability and quiet operation means fewer disruptions to the workday, more consistent pumping schedules, and a greater likelihood of maintaining milk supply over time. True hands-free pumping isn’t just a convenience feature — it’s what makes sustaining a breastfeeding routine compatible with a demanding professional life.
Step-by-Step Guide to Using Your Wearable Breast Pump Effectively
Preparation: Setting Up for Pumping Success
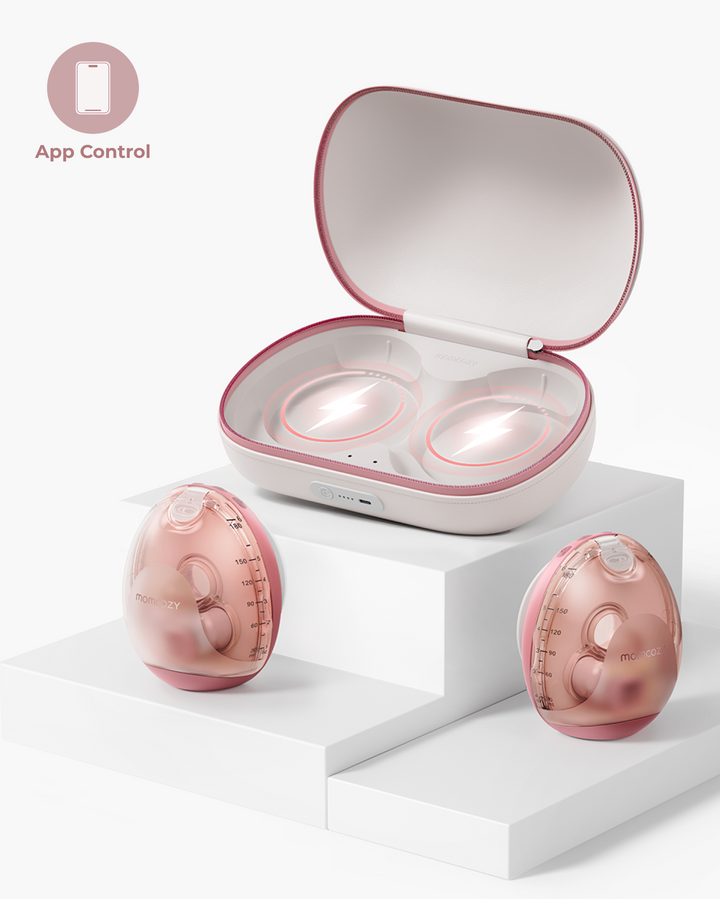
Before your first session, a few minutes of preparation make the difference between a frustrating experience and a smooth one. Start by washing your hands thoroughly, then confirm your device is fully charged — most wearable pumps need two to three hours for a full charge, so plugging in overnight becomes part of your routine. Assemble the components according to your pump’s manual, checking that the silicone flange, valve, and collection cup are securely connected with no gaps. Flange fit is critical: the tunnel should surround your nipple with roughly 1 to 3 millimeters of space on each side. Too tight restricts milk flow and causes pain; too loose breaks the seal and reduces output. A well-fitted pumping bra holds everything snug against your chest, preventing the device from shifting as you move.
The Pumping Process: Maximizing Output and Comfort
Power on the pump and begin with massage or stimulation mode, which mimics your baby’s initial rapid suckling to trigger a let-down. This phase typically runs one to two minutes. Once milk starts flowing, switch to expression mode and gradually increase suction to the highest level that remains comfortable — pushing beyond comfort doesn’t increase output and often decreases it. Sessions generally run 15 to 25 minutes. Relaxation directly influences how much milk you express, so if you’re at your desk, keep a photo of your baby on your phone, take slow breaths, and stay hydrated. Avoid hunching over or pressing on the device, as this can disrupt suction and the seal against your breast.
After Pumping: Storage, Cleaning, and Maintenance
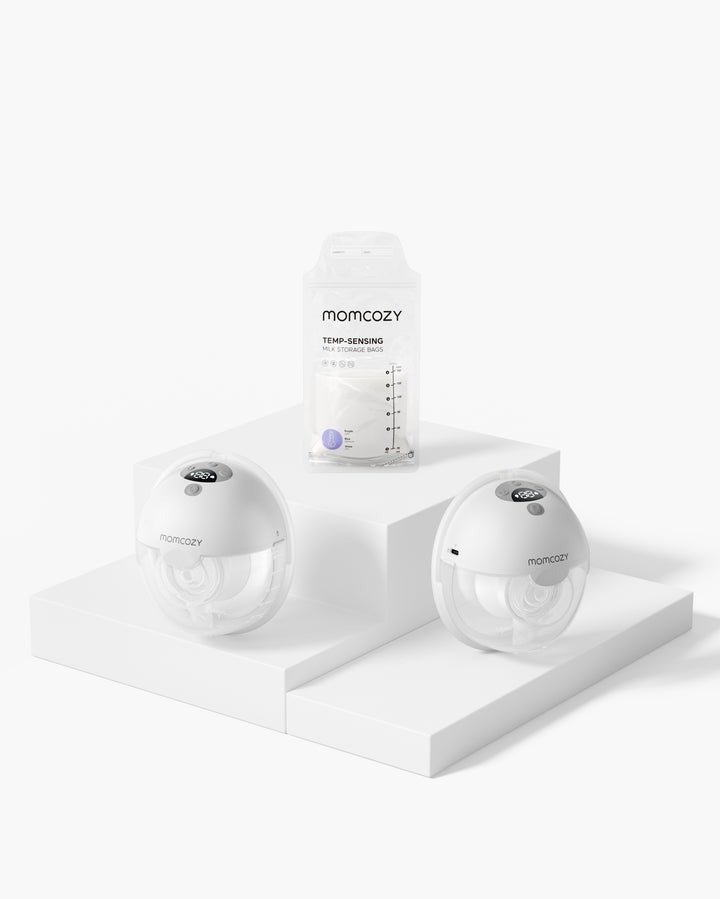
Once the session ends, carefully remove the pump from your bra and pour the collected milk into a labeled storage bag or bottle, noting the date and volume. Freshly expressed milk keeps at room temperature for up to four hours, in the refrigerator for four days, and in the freezer for up to six months. Disassemble the pump components immediately after transferring the milk — residue dries quickly and becomes harder to clean. Rinse each part with cold water first, then wash with warm soapy water using a dedicated brush. Allow components to air-dry on a clean surface rather than towel-drying, which can transfer bacteria. Recharge the device after each use so it’s ready for your next session.
Maximizing Convenience with Hands-Free Pumping and Pumping Bras
The Role of Pumping Bras in Hands-Free Pumping
A wearable pump is only as effective as the bra holding it in place. Without proper support, even the best device will shift during movement, breaking the seal, reducing suction, and forcing you to stop and readjust. A quality pumping bra solves this entirely by creating a stable pocket that keeps the pump firmly against your breast regardless of whether you’re typing, walking, or standing in line at the coffee shop. When shopping for one, prioritize a few specific features: adjustable straps that let you customize the fit as your body changes postpartum, easy-access openings that let you insert and remove the pump quickly without undressing, and soft stretchy fabric that holds the device snugly without compressing breast tissue, which can block milk ducts. Momcozy, for instance, offers pumping bras designed specifically around the shape and hold requirements of wearable pump users, reflecting how closely bra and pump design have become intertwined in this category. Some mothers find that a two-in-one nursing and pumping bra simplifies their wardrobe, while others prefer a dedicated pumping bra worn over their regular nursing bra for extra hold. Either approach works — what matters is that the pump stays flush against your breast throughout the session.
Tips for Discreet Pumping in the Workplace
Fitting pumping sessions into a workday requires both planning and the right environment. Block two or three pumping breaks on your calendar as recurring meetings — this prevents colleagues from scheduling over them and signals that the time is protected without requiring explanation. For clothing, loose blouses, layered tops, or flowy cardigans conceal the pump’s profile completely and allow quick access without drawing attention. If your office has a lactation room, use it; if not, a locked private office or a quiet corner with a nursing cover provides enough discretion for most situations. While wearable pumps run quietly, placing a small fabric pouch or even a folded scarf between the pump and your clothing can dampen any residual vibration sound. For video calls, no adjustments are necessary — the pump operates below the threshold of most microphones and remains invisible on camera, letting you participate fully while continuing your session without interruption.
Troubleshooting Common Issues and Ensuring Long-Term Pump Health
Solving Common Wearable Breast Pump Problems
Even with careful setup, issues occasionally arise — and most have straightforward fixes. Low milk output is one of the most common frustrations, and the cause is almost always flange fit or suction positioning. If output suddenly drops, remove the pump, reposition it so your nipple sits centered in the tunnel, and ensure the silicone flange creates a complete seal against your skin. A cracked or worn valve membrane is another quiet culprit: these small silicone pieces degrade over time and lose their ability to maintain suction, so inspect them weekly and replace them monthly or whenever output feels inconsistent. Leaking is typically a seal issue — the flange isn’t fully flush, or the collection cup hasn’t clicked securely into place. Pain during pumping is a clear signal to reduce suction immediately; effective pumping should feel like firm pulling, never pinching or stinging. If your device displays an error code or fails to power on despite a full charge, a firmware update through the companion app resolves most software-related faults. For persistent hardware issues, contact the manufacturer rather than attempting internal repairs.
Cleaning and Maintenance Best Practices
Consistent cleaning protects both your milk supply and the pump itself. After every session, disassemble all parts that contact milk — flange, valve, membrane, and collection cup — and rinse with cold water before washing in warm soapy water. Air-dry completely on a clean rack before reassembling. Once daily, steam-sterilize the milk-contact parts using a microwave sterilizer bag or dedicated sterilizer, particularly during your baby’s first three months. Weekly, wipe down the motor unit with a damp cloth — never submerge it or run it under water. Replace silicone membranes every four to six weeks, flanges every three to four months, or immediately if cracks appear, since damaged parts compromise both hygiene and suction performance. Store the device in a breathable pouch rather than a sealed bag to prevent moisture buildup. Keeping a spare set of wear parts on hand means a degraded membrane never interrupts your schedule.
Building a Sustainable Breastfeeding Routine
Wearable breast pumps have transformed what breastfeeding while working actually looks like in practice. Instead of disappearing for 30 minutes multiple times a day, you can maintain your pumping schedule without stepping away from your responsibilities — expressing milk during a meeting, a commute, or a lunch break with no one around you any the wiser. That combination of genuine hands-free operation and quiet discretion isn’t a luxury; for mothers trying to sustain breastfeeding through demanding schedules, it’s often the difference between continuing and stopping altogether.
The steps covered in this guide — proper flange fit, consistent session timing, smart clothing choices, regular cleaning, and proactive troubleshooting — aren’t complicated, but they compound. A well-fitted device paired with a supportive pumping bra and a protected schedule can turn a previously stressful routine into something that simply runs in the background of your day.
You don’t have to choose between your professional life and your breastfeeding goals. With the right equipment and a practical approach, both are entirely manageable. Embrace what this technology makes possible, build your routine around it, and give yourself credit for doing something genuinely demanding with more grace than you probably realize.