Purpose of this document
This document describes how to use Icons8 Face Swapper in production. The emphasis is on measurable quality, reproducibility, and compliance. It is written for designers, illustrators, design students, marketers, content managers, business owners, photographers, app developers, and everyday users who need believable composites without a long learning curve.
What the system delivers
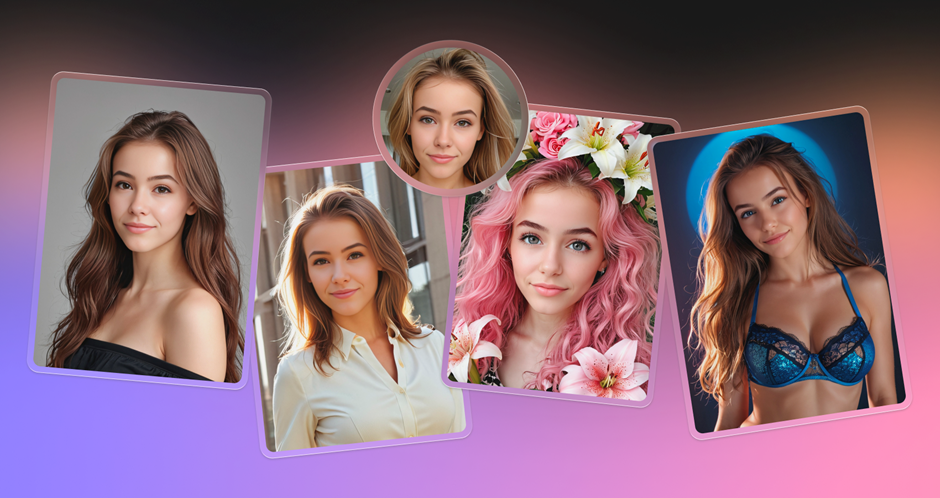
Face Swapper replaces a visible face in a base photograph with a different identity sourced from a reference photograph. It keeps background and wardrobe intact, respects head pose, and adapts local exposure, white balance, and tint so shadows and highlights fit the scene. Hairlines, beards, and thin eyeglass rims are handled with edge‑aware blending, which helps the image withstand close inspection and large‑format print.
See also: Revolutionizing Golf Practice with Modern Technology
Operating model in four stages
- Landmark detection and pose normalization. The engine locates eye centers, nose bridge, mouth corners, and jaw contour. It estimates yaw, pitch, and roll, then brings the reference into the same pose as the base.
- Photometric adaptation. Local exposure, color temperature, and tint from the base face are measured and applied to the inserted face so penumbra under the nose and lower lip remain consistent.
- Edge‑aware compositing. Hairlines, beard borders, and eyeglass rims are treated as priority edges. The blend preserves flyaway strands and micro shadows.
- Texture continuity. Skin grain follows the base file’s noise pattern. The composite avoids plastic smoothing that would betray manipulation.
Inputs: rules that prevent failure
- Keep the entire workflow in sRGB until layout. Convert to CMYK only at the end for print.
- Use JPEG or PNG with modest compression. Macro blocking produces false edges and reduces landmark accuracy.
- Prefer neutral expression on the reference. Open mouths and exaggerated smiles require near‑identical pose on both inputs
- Match accessories between base and reference. Thick acetate frames against wire rims look wrong even with perfect alignment.
- If the base carries a strong cast, apply a mild white balance correction before the swap.
End‑to‑end workflow (SOP)
- Intake. Verify resolution, color space, pose compatibility, expression, and accessory parity. Reject assets that fail basic checks.
- Swap. Run detection, pose normalization, photometric match, and blend in a single pass.
- Inspect at 100%. Confirm gaze alignment, eyelid fit, nostril asymmetry, jaw continuity, hair edges near temples, and any color spill below the chin.
- Annotate micro‑fixes. Plan a local desaturation along the jaw if a faint rim appears. Avoid heavy global edits that introduce new seams.
- Export. Keep original pixel dimensions to protect layout constraints in Figma, Sketch, Photoshop, or Lunacy. Create JPEG derivatives for web delivery as a separate step. Store archival PNG or TIFF for graded jobs.
Quality gates you can measure
- Alignment: pupil centers on the same scan line; nostril asymmetry matches base head tilt.
- Illumination: the penumbra under the nose and lower lip keeps shape and softness; cheek mid‑tones respect scene white balance.
- Edges: hairline and beard edges pass a 200–300% zoom test without halos or matte rims.
- Texture: skin grain tracks the base file’s noise pattern; plastic smoothing is a fail.
Create a one‑page QA sheet with these gates and attach it to every batch.
Access mid‑article
Keep this link handy for trials and QA: faceswap ai.
Role‑based workflows
Designers and illustrators
Build campaigns around a consistent character without reshoots. Test three references against brand persona guidelines, pick one, and lock it for the series. Use a naming pattern that ties each output to base and reference, for example proj_scene_ref_v01.jpg. This preserves traceability when stakeholders ask for a previous iteration.
Design students
Maintain a simple log for each composite: base filename, reference filename, pose notes (e.g., 20° yaw, 5° down tilt), and lighting notes (e.g., north window, overcast). Reproducibility matters at critique and when the brief changes late in the semester.
Marketers and content managers
Regional adaptation is common. Replace faces to align with audience research while keeping layout and copy unchanged. Keep a release register with columns for base file, reference face, license status, publish date, channel, and owner. This reduces audit time from hours to minutes and speeds rollbacks when a visual needs replacement.
Business stakeholders
Prototype buyer personas for proposals and pitch decks without booking a shoot. Label composites on internal slides. Clear labels prevent misunderstandings when decks circulate without context.
Photographers
Recover otherwise strong frames with a blink or off‑gaze. For editorial contexts, obtain approvals before identity changes. For commercial work, store originals and edits side by side with model releases and usage terms. This satisfies common review policies and simplifies re‑edits.
App developers
Swapped portraits pass cleanly through downstream steps: background removal, smart cropping for breakpoints, avatar generation, and automated face checks. Add a preflight script that verifies face bounding box size, inter‑pupil distance, and minimum resolution per breakpoint. Fail bad assets early so weak inputs never enter production.
General users
Create playful edits with consent from everyone involved. Avoid impersonation or any suggestion of endorsement.
Integration with design and print tools
- Figma/Sketch/Lunacy: replace layers; keep original pixel size to avoid layout shifts. Use constraints to lock focal points after replacement.
- Photoshop: place as a linked Smart Object. Local jaw desaturation at 5–10% flow removes subtle halos without destroying texture.
- Print: keep sRGB during compositing; convert to CMYK at the layout stage in InDesign or Affinity. Perform the swap before heavy grading so color work does not amplify seams.
Governance, consent, and policy
- Secure permission for both the base subject and the reference face. Store proof with the asset.
- Confirm publicity rights and model releases, especially with public figures. Local rules vary.
- Disclose composites in training and research materials with a short caption. This maintains trust with learners and reviewers.
Constraints and proven workarounds
- Tiny faces: crop tighter, swap, then composite back into the wide frame.
- Harsh color casts: apply mild white balance to the base, then swap.
- Extreme pose: choose a reference with matching yaw and pitch; otherwise jaw seams appear.
- Thick glasses: match frame thickness and finish across inputs for believable edges.
- Dense beards: best results when the base already shows some facial hair texture.
Team benchmark protocol
Assemble a compact benchmark covering common realities: indoor tungsten, outdoor overcast, office fluorescent; with and without glasses; clean‑shaven and bearded. Define pass/fail thresholds: pixel tolerance for alignment, seam visibility at 200% zoom, ΔE threshold on mid‑cheek color. Run two references per scene and keep the stronger output. Archive inputs, references, outputs, and a one‑line QA note in a versioned folder. Re‑run quarterly to detect drift.
Troubleshooting quick answers
- Crossed eyes → pose mismatch. Pick a reference with closer yaw/pitch.
- Jaw halo → background spill or untamed cast. Desaturate the seam locally.
- Plastic skin → denoised base. Add fine grain to restore micro texture.
- Wrong hairline → forehead height mismatch. Choose a reference with similar hair geometry.
Performance and scaling
Processing time scales with input resolution and the number of detected faces. Solo portraits complete quickly; group photos run several passes. Normalize batch inputs to a fixed long edge to keep timing predictable and memory stable. Measure wall time and success rate on your benchmark before automating a large run.
Why results read as real
Viewers flag three failures first: misaligned gaze, wrong light direction, and missing micro texture. The system addresses them with precise alignment, localized photometric matching, and edge‑aware blending that respects hair and fabric detail. When inputs are compatible, the composite survives both pixel‑level inspection and print.
Conclusion
Icons8 Face Swapper operates as a reliable component in production when it is paired with disciplined intake and a short QA checklist. It respects scene light, preserves texture, and exports at original size so downstream layouts remain stable. With consent, license checks, and clear labeling, it serves professionals and learners across design, marketing, photography, prototyping, and education.